
This is how I will hang them. A simple basket made out of twine. This particular one was the prototype. I tried a couple different configurations to get one that looks great.

Now, on to the instructions on how to make them:
You will need:
- A standard mouth mason jar with lid
- A solar LED pathway light
- A drill and bit (for starter hole)
- Small tin snips or heavy duty scissors
- Silicone caulk

I bought a case of plain old standard-neck mason jars for about $11 (less than a buck a jar). I found the standard neck work much better than the wide neck. You'll see why in a bit..

Any silicone caulk will work. I used some squeeze caulk because I didn't feel like digging out my caulk gun from somewhere in the garage.

Ok... Let's get cracking. First step is remove the metal spike from the light and discard it. Actually, I saved mine. You never know when you will find a use for something like that. Then twist off the lens and remove the little orange tab that connects the battery.

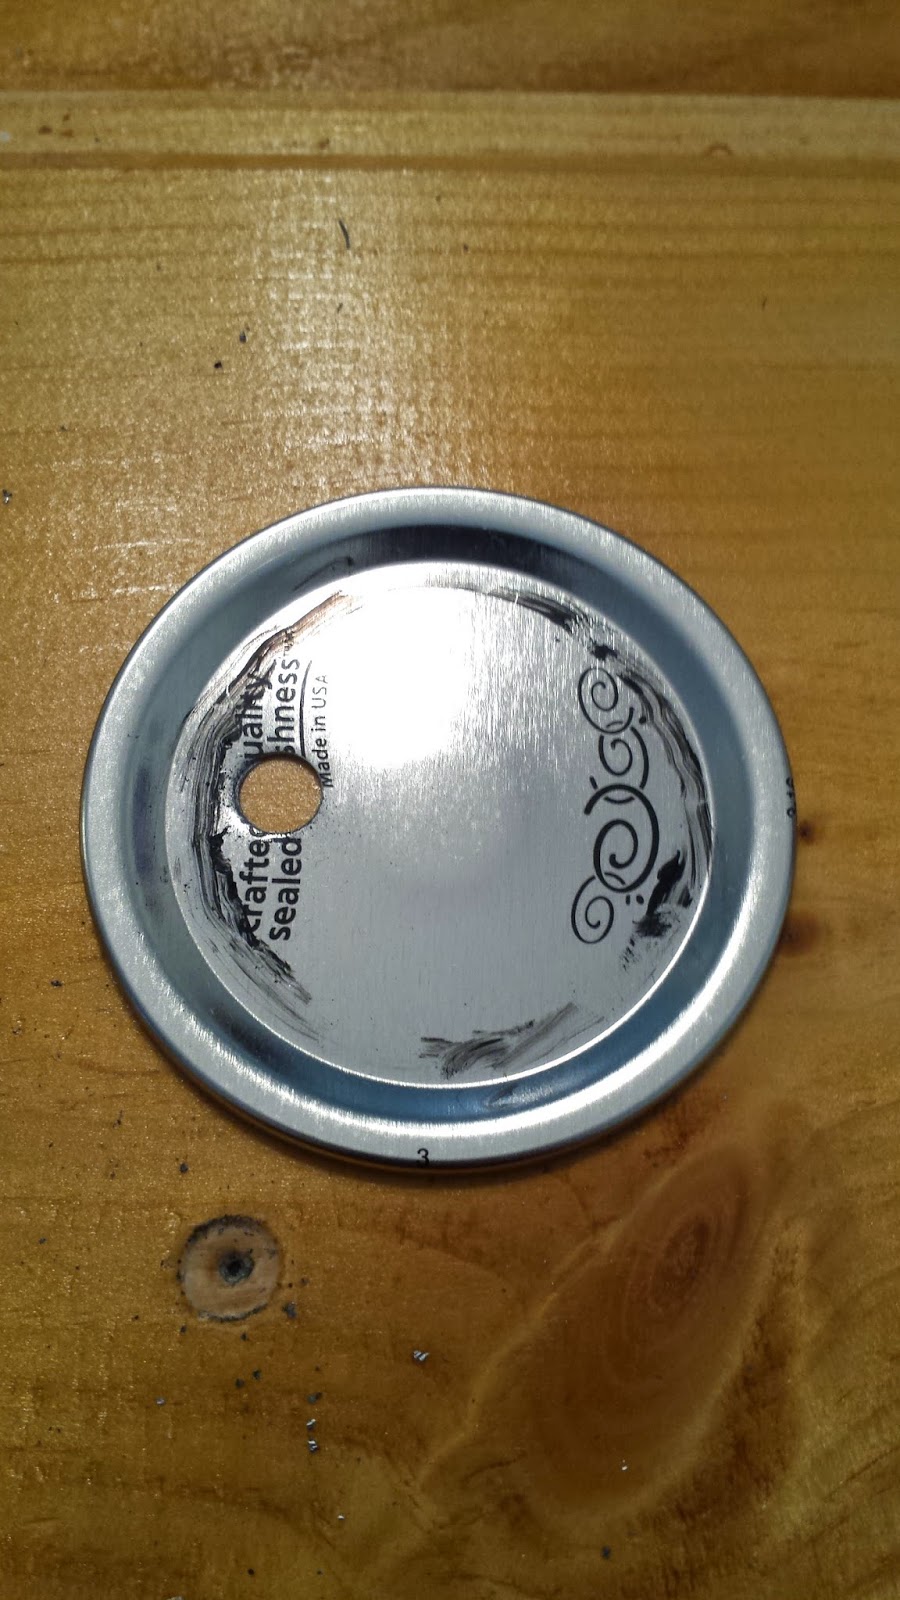
Unscrew the jar lid and take the metal disk from the middle. I found a pill bottle that was big enough for the light lens to fit through, but not big enough for the batter case. I used that as a pattern to mark the lid.
Once the hole size was marked, I drilled a starter hole near the marked line.

This hole is just as start.
Then I took my Pampered Chef industrial strength scissors to cut out the hole in the lid. The lid is quite thin, and cut very easy.


Finished hole. It's kinda ragged, but that dont matter. You will never see it.

Take the light and squeeze on a generous amount of caulk.

Put the lid on the mouth of the jar and press the light onto the lid. Use a twisting motion to seat it fully. Some silicone will squeeze out. That's Ok.


Now simply screw the lid ring down and you are done. The $1.97 lights are a perfect fit for the standard mouth jar lids. Let the silicone set up overnight

The finished product.

They are so easy to make, I did 10 of them in about an hour.

Very cool idea! Thanks.
ReplyDeleteLove it
ReplyDelete